


In the bustling global of online publishing, having an attractive and visually appealing website is paramount. Newsify – Magazine WordPress Theme gives a firm answer for individuals and companies seeking to create dynamic magazine-fashion websites. In this comprehensive guide, we’ll walk you through the step-by-step procedure of downloading, installing, and setting up the Newsify theme to kickstart your journey toward an outstanding online presence.
Domain & Hosting
- Domain: An area is the internet address that customers type into their browsers to go to your internet site. It serves because of the online identification of your internet site, presenting a recognizable and remarkable call. For instance, in the domain “example.com,” “example” is the domain name. “Com” is the top-degree area (TLD). Domains may have specific TLDs along with.Com, .Org, .Internet, Edu, and many others.
- Hosting: Web web hosting is the service that shops your website’s documents and statistics on a server, making them available to customers over the internet. Hosting companies offer server areas, sources, and infrastructure to host your internet site and ensure its availability 24/7. There are diverse varieties of hosting, including shared web hosting, VPS hosting, dedicated web hosting, and cloud website hosting, every presenting exclusive tiers of overall performance, management, and scalability.
Now, let’s stroll through the steps to put WordPress on cPanel, which is a commonly used internet web hosting manipulation panel:
- Login to cPanel: Access your hosting account’s cPanel dashboard by coming into the furnished URL for your net browser and logging in with your credentials.
- Navigate to Softaculous Apps Installer: Look for the “Softaculous Apps Installer” icon or option inside your cPanel dashboard. Softaculous is a popular script installer that simplifies the technique of installing web packages like WordPress.
- Find WordPress: Once in Softaculous, discover the WordPress icon or look for it using the search bar.
- Install WordPress: Click on the WordPress icon, and you may be directed to the WordPress setup page within Softaculous. Here, click on the “Install Now” button to begin the installation of the system.
- Configure WordPress Installation:
- Choose Protocol: Select the appropriate protocol (HTTP or HTTPS) primarily based on your internet site’s SSL certificate status.
- Choose Domain: Choose the domain from the dropdown menu wherein you want to install WordPress.
- In Directory: Leave this field clean until you need to install WordPress in a subdirectory.
- Site Settings: Enter your site call and outline.
- Admin Account: Set up the username, password, and electronic mail copy for the WordPress admin account.
- Choose Language: Select the preferred language for your WordPress setup.
- Select Plugins (Optional): Choose any favored plugins to be set up robotically.
- Advanced Options: You can personalize database calls, table prefixes, and other advanced settings if wished.
- Click on the “Install” button for installation.
- Complete Installation: Softaculous will now deploy WordPress on your domain. Once the installation is complete, you will get hold of an affirmation message with details of your WordPress installation, such as login URLs and credentials.
- Access WordPress Dashboard: You can now get admission to your WordPress dashboard by visiting the admin URL furnished (commonly yourdomain.com/wp-admin) and logging in with the admin credentials you put in for the duration of the setup.
Congratulations! You have effectively set up WordPress on cPanel, and you are geared up to begin constructing your website.
Downloading Newsify Theme:
Before delving into the setup procedure, the first step is to download the Newsify topic. Follow these simple instructions to achieve the subject matter:
- Navigate to the particular source for the download of the Newsify theme. This can be a market, the developer’s internet site, or every other dependent on the source.
- Locate the download hyperlink for the Newsify subject matter.
- Click on the download link to complete the download procedure.
- Depending on the supply, you can create an account or offer positive info before downloading.
- Once the download is complete, make sure that the subject matter record (typically in a . Zip format) is stored in an without-difficulty available region for your PC.
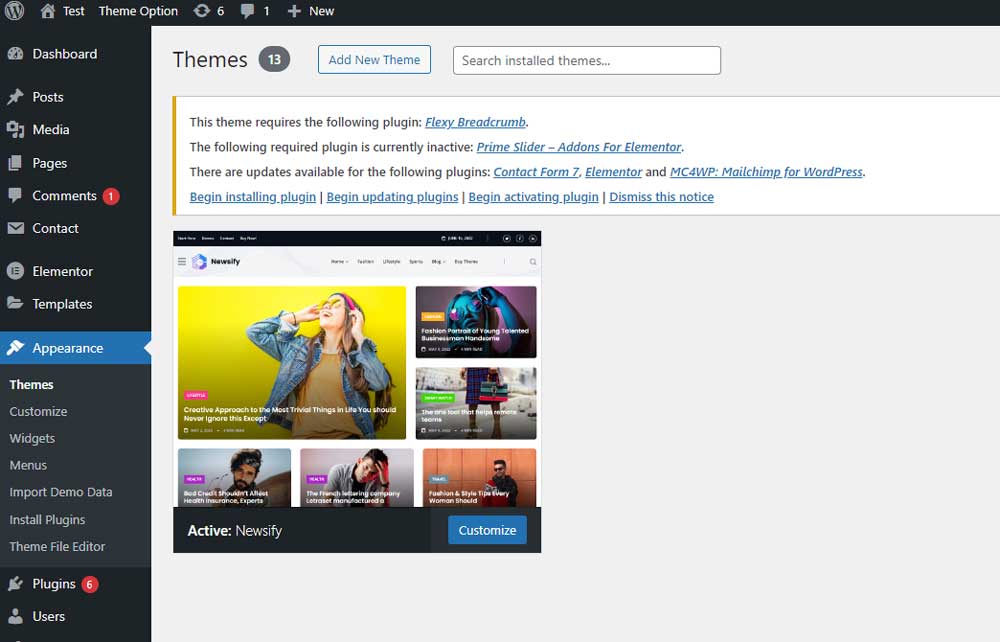
Installing Newsify Theme:
With the topic document downloaded, it’s time to continue with the installation process. Follow those steps to put the Newsify subject in your WordPress internet site:
- Log in on your WordPress admin dashboard.
- Navigate to the ‘Appearance’ phase and click on ‘Themes.’
- Click on the ‘Add New’ button at the top of the page.
- Next, click on the ‘Upload Theme’ button.
- Choose the Newsify subject matter report (.Zip layout) from your laptop and click on ‘Install Now.’
- Once the setup is complete, click on the ‘Activate’ button to prompt the Newsify topic on your website.
- Congratulations! The Newsify subject is now effectively established and activated on your WordPress website.
Setting Up Newsify Theme:
Now that the Newsify topic is mounted, it is time to configure and customize it to fit your possibilities. Follow those steps to set up Newsify subject matter correctly:
Step 1: Installing Required Plugins:
- Navigate to the ‘Plugins’ phase for your WordPress dashboard.
- Click on ‘Add New’ and look for the subsequent plugins: Elementor Page Builder, Newsify Extra, Mailchimp, Contact Form 7, Flexy Breadcrumb, My Favorites, AccessPress Social Counter, and One Click Demo Import.
- Install and set off these plugins to ensure the proper functioning of the Newsify theme functions.
Step 2: Importing Demo Data:
- Demo information import permits you to duplicate the demo website online’s content and format, offering a starting point for customization.
- Go to ‘Appearance’ > ‘Import Demo Data’ to your WordPress dashboard.
- Click on ‘Import Demo Data’ to initiate the method. This may additionally take some moments to finish.
- Once the import is finished, navigate to ‘Settings’ > ‘Permalinks’ and click on ‘Save’ to update the permalink shape.
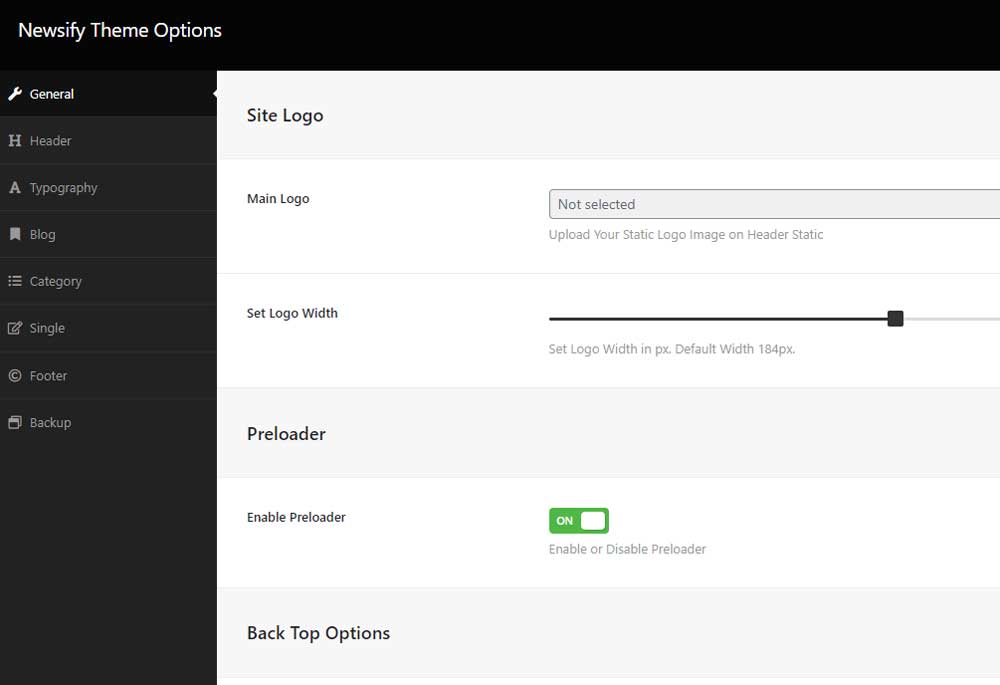
Step 3: Configuring Theme Options:
- Access the Newsify topic alternatives panel by going to ‘Appearance’ > ‘Dashboard’ > ‘Theme Options.’
- Explore the exclusive sections, which include General, Header, Site Logo, Page & Templates, Typography Settings, and Footer.
- Customize subject settings consistent with your possibilities, consisting of allowing/turning off the theme loader, adjusting header navigation style, putting the website online brand, configuring typography, and more.
Step 4: Homepage Setup:
- Decide on the form of the homepage layout. You prefer a weblog page as the homepage or a static page as the homepage.
- Configure the homepage settings by navigating to ‘Settings’ > ‘Reading’ on your WordPress dashboard.
- Follow the instructions supplied to set up both a weblog page and a static page as your homepage.
Step 5: Utilizing Elementor Widgets:
- Newsify subject matter seamlessly integrates with Elementor Page Builder, taking into consideration the smooth customization of page layouts.
- Create new pages or edit current ones by clicking on ‘Pages’ > ‘Add New’ and then ‘Edit with Elementor.’
- Utilize various Elementor widgets such as Theme Slider, Blog Post Grid, Category List, Video Post Block, and, more importantly, to beautify your website’s visible appeal and capability.
Step 6: Managing Posts and Categories:
- Organize and manage weblog posts and categories successfully in the WordPress dashboard.
- Customize single blog layouts, submit classes, and assign photos and hues to classes to enhance visible aesthetics.
Step 7: Menu and Widget Management:
- Set up predominant and footer menus by navigating to ‘Appearance’ > ‘Menus’ and assigning appropriate menus to unique places.
- Utilize the available widget regions, including the Main Blog Sidebar and Footer Widgets, to add and manage widgets in step with your necessities.
Conclusion:
Setting up and downloading the Newsify – Magazine WordPress Theme is a straightforward technique that could considerably elevate your online publishing endeavors. By following the comprehensive guide outlined above, you could seamlessly deploy, configure, and customize Newsify’s subject matter to create a visually stunning and tasty website that captivates your target audience. Embrace the flexibility and capability of Newsify to embark on a successful virtual publishing adventure.
FAQ’s:
How do I install the Newsify subject matter?
- You can set up the Newsify topic by either uploading the subject matter folder via FTP or the WordPress dashboard. Visit Appearance > Themes, click on the Add New button, then Upload Theme, pick out the newsify.Zip file, and click on Install Now. Once mounted, prompt the Theme by navigating to Appearance > Themes and clicking the Activate button for Newsify.
What are the required plugins for the Newsify topic?
- The required plugins for Newsify consist of Elementor Page Builder, Newsify Extra, Mailchimp, Contact Form 7, Flexy Breadcrumb, My Favorites, AccessPress Social Counter, and One Click Demo Import. You can set up these plugins by going to Appearance > Install Plugins inside the WordPress admin panel.
How do I import demo records for the Newsify topic?
- You can import demo statistics for Newsify with one click. Navigate to Appearance > Import Demo Data and click on Import Demo Data. This will import sample content together with menus, pages, posts, and pics to make your web page resemble the demo. After importing, ensure that the permalink structure is replaced by going to Dashboard > Settings > Permalinks and clicking Save.
How do I configure the homepage for the Newsify topic?
- Newsify gives two homepage alternatives: a blog page as the homepage or a static web page because of the homepage. You can configure this by way of going to Settings > Reading within the WordPress dashboard. Choose your chosen alternative beneath the front page displays, both your modern-day posts for a weblog homepage and a static page for a static homepage. Adjust the variety of posts to show for that reason and shop your settings.
How do I control menus and widgets inside the Newsify subject matter?
- To control menus, navigate to Appearance > Menus within the WordPress admin panel. Set the Main Menu and Footer Menu locations by selecting or growing menus for every. You can also manipulate menu settings and patterns in Appearance > Theme Settings > Navigation. For widgets, Newsify offers a Main Blog Sidebar and six Footer widgets sidebars, which allow you to upload widgets along with Accespress Social Widget or Posts classes with background photographs and posts.